Featured Courses

Learn at your own pace – Free courses available

ChatGPT Bootcamp for Beginner

Wade Warren
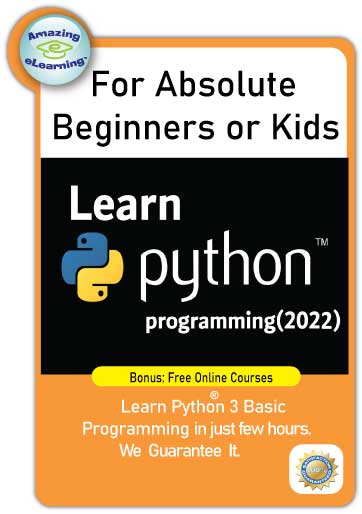
Python Developer
Mastering Python Programming

Brooklyn John
Programmer

Excel for Beginner

Guy Hawkins
HR

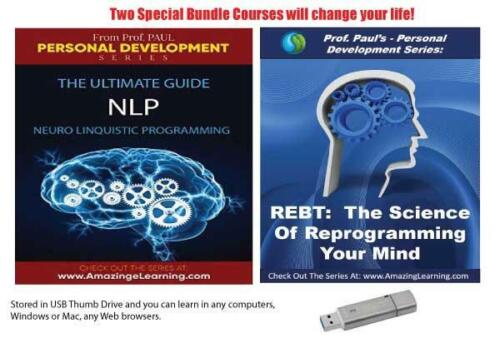
Powerful mental tools to help
you master tough subjects

Jacob Jones
Self Developer